
Tuesday, December 30, 2014
Day 2 (part 1) of DeNami's Sneak Peek Week! Sweet Monster Treats

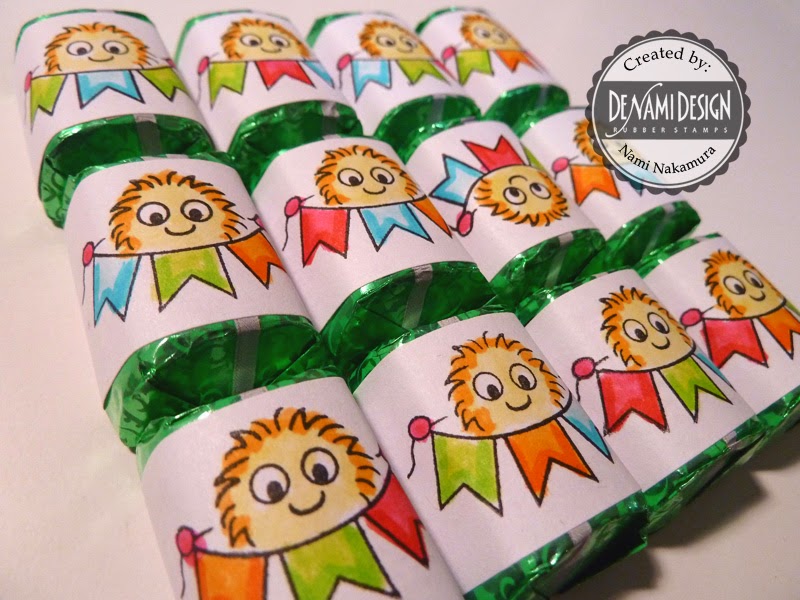
Look how adorable and colorful these Monster treats are! I will show you how to do the one in the middle. Stay tuned and see the one on the right at noon, PST, today.

Hi Friends,
Doesn't this little picture just make you happy?? This is part of the new Monster Celebrations Clear Stamp that is going to be available January 5.
These are Hershey's Nuggets all dressed up. I chose the Chocolate Mint ones . They were simple to make, but will really put a smile on anyone's face.
Supplies needed:
CR03 Monster Celebrations Clear Stamp Set (available January 5, 2015)
Versafine Onyx Black ink pad
Markers (I used Tombows)
CB300 Boutique Box
Hershey's Nuggets (I used Chocolate Mint)
PC21 White Cardstock
White Address Labels size 1x 2 5/8 inches (found in most office supply stores)
Here is how I did it:
I stamped the 1x 2 5/8 inch address labels using the CR03 Monster Celebrations Clear Stamp set using the Versafine Onyx Black Ink Pad. 12 fit into DeNami's Boutique box. (Size 3x3x1)
The Versafine ink pad creates a crisp image and then I used Tombow markers to color in.


Once I colored them in, I wrapped it around each Hershey Nugget. It really is a perfect fit.
I then created a little center divider. It keeps the chocolates from moving around.
I cut a cardstock 3x4 and scored it widthwise. Score 1 inch in, then 1/2 inch in, 1 inch in, then 1/2 inch in, then 1 inch in again.
Stamp the Congrats and the monsters from the Monster Celebrations Clear Stamp Set on the 1/2 inch sides and do so upside down since one will appear on each side of the box and it will end up being right side up if you do it this way.

Add your desired colors to add cheer to the insert.

Add ATG adhesive to one end of the insert and fold to create a "tube" with corners.
Once done, insert a row on the nuggets facing out, then insert a row back to back facing the other side. Both sides of the box will look the same. For a variation, you can choose a different theme on each side.
This will be great for graduation party favors, a job promotion, retirement party, an award, completing a certification... You can also do a Valentine's theme for cute treats.
This is very easy and economical. We have several Boutique Boxes here to use, but you can do similar things with them. Just use your imagination.

Here's the Front

Here's the Back. They look the same, so you can do some fun things if you want to change the look. Just stamp 6 for one side and 6 for the back.

Aren't they so cute!


See that cute little one playing around?

Thanks so much for checking this out. Stay tuned and see a second blogpost at noon, PST.
If you saw the other project at the top of the blogpost, that is a sneak peek to what is coming later today.
Subscribe to:
Post Comments (Atom)

Follow Us
|
|
|
|
|


9 comments:
SUPER CUTE and SO MUCH FUN :)
These are way too cute! I'm eyeing the little guys with the fuzzy hats also! Those are adorable!
Super CUTE treat box! Love the monsters! Perfect for birthday goodie bags! :D
Oh my gosh, how darling; what a great idea!
These are adorable and the colorwork is beautiful. Love this new stamp set
Oh dear me! These are precious!! They would make such a cute little valentine colored in red and pink! Thanks for the cute idea. ♥
Pretty sweet!
Love the design
of this treat
box and candy
covers.
Carla from Utah
These little monsters are adorable!
How fun are these little guys and wow, LOVE your projects! Who would have thought to put the little "spacer banner" in the box...perfectly done, Nami!!
Post a Comment